Contribution Help
Online offerings can be done in two ways, either as a one-time offering by selecting ‘CONTRIBUTE NOW’ or by creating an account through their portal. Creating an account allows you to save your payment information for future donations, and allows you to see a history of your offerings.
This page will walk you through the process of making a contribution through both methods.
Contribute Now:

By selecting the red ‘CONTRIBUTE NOW’ button, you can make a quick contribution without creating an account. This is useful if you plan on making only a one time contribution, as it does not save any of your information.
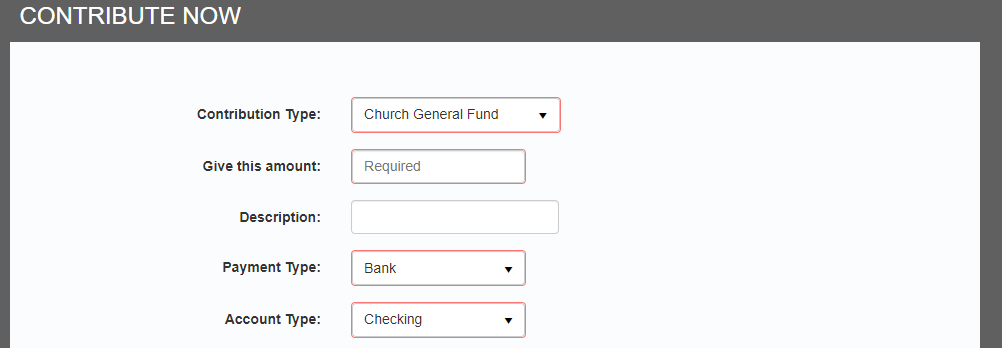
From here you can select how much you would like to give, by typing in the desired amount into the ‘Give this amount:’ box. An optional description to the contribution can be added, and is where you may dedicate a portion of your contribution to specific causes.
At the moment, only bank transfers are able to be processed, and can be made as an electronic debit from either a checking or savings account.
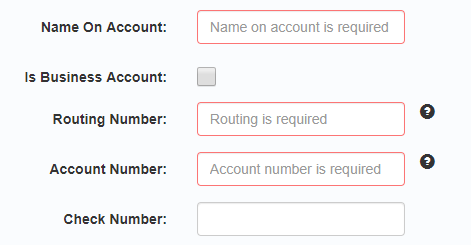
The next section requires information pertaining to your bank account. Required is the name on the account, the routing number, and the account number of the account. A check number can be optionally added. The routing and account numbers are found at the bottom checks, the nearby ‘?’ symbol will highlight the correct location of each number.
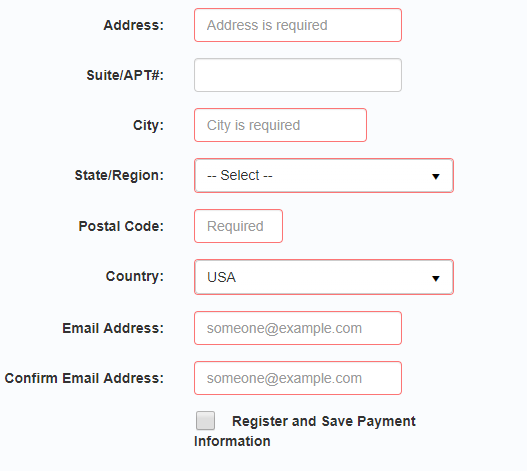
The final portion requires your mailing address and an email address. You may also check the box to use the information given to create an account with the payment processor to expedite future contributions.
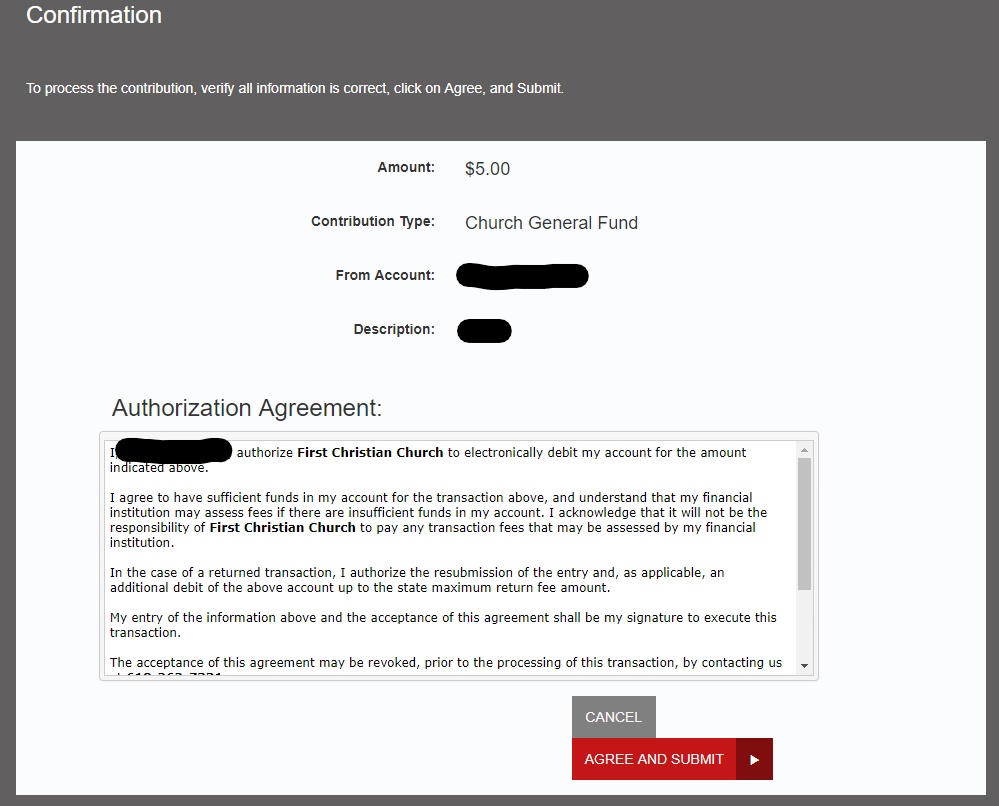
Upon submitting, you will be asked to confirm your contribution, and to agree to the authorization for the electronic debit. Upon pressing ‘Agree and Submit’ your contribution will be processed. (Note: As per First National Bank, most contributions made before 2 PM on a business day will be processed the same day)

Upon submitting, you will be given a receipt for the transaction. If the response at the top says ‘Success’ your contribution has been accepted. If the contribution failed, check to make sure all the information you entered is correct. Here, you may save or print a copy of the receipt for you records
Creating an Account
If you plan on making multiple contributions, or wish to set up a routine contribution, you may wish to create an account with the payment portal. Doing so allows your information to be saved to expedite future contributions, as well as keep a record of all your past donations. Creating an account is easy.
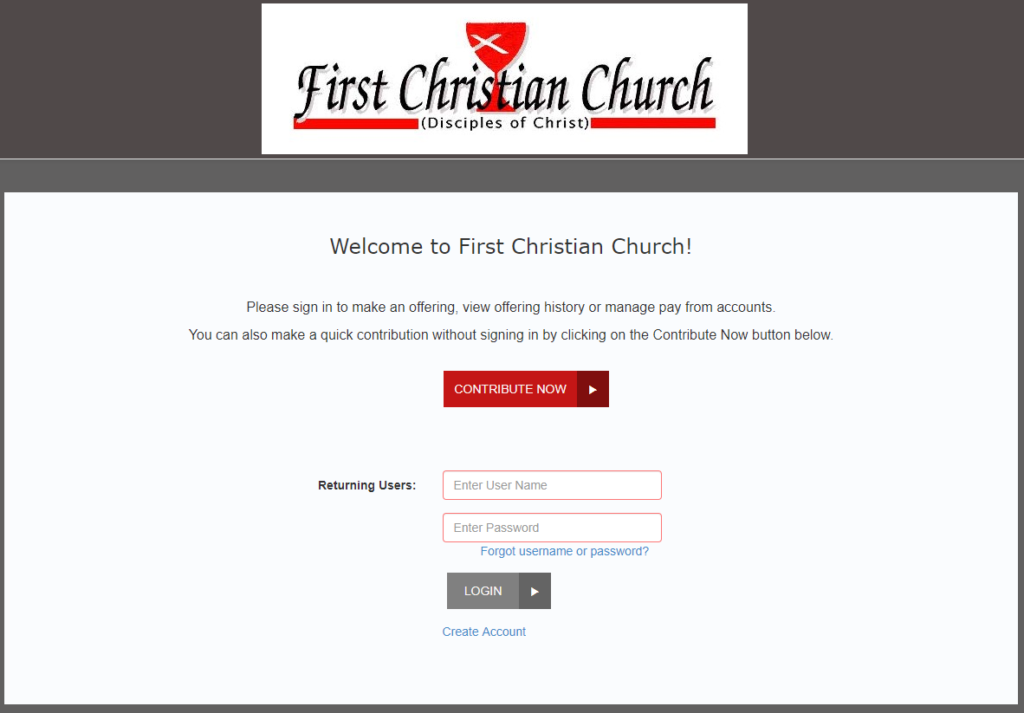
On the front page, you will need to press the link Create Account located below the grey ‘LOGIN’ button.
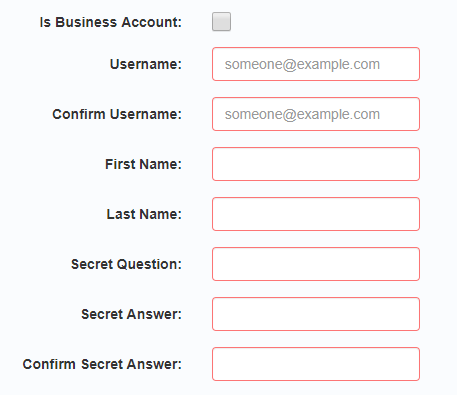
You will then need to fill out the information asked. Any boxes outlined in red are required for an account. Your username will need to be an email account. The secret question/answer can be anything you wish, (birthplace, family member’s middle name, childhood pet as examples,) and is used to recover your password if lost.
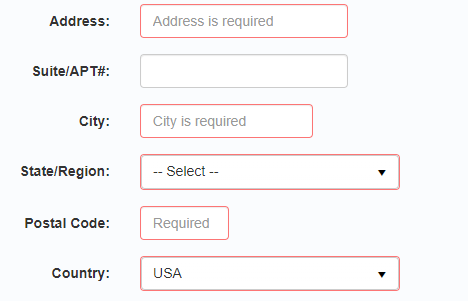
The next section asks for your mailing address. The Suit/Apartment # field is optional and only needs to be filled if applicable for your address.
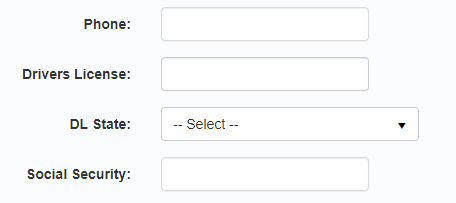
The last section of registration is completely optional. The account process and online contribution does not need your phone number, driver’s license number, or social security number to function.

A final confirmation is required to set up your account. An email will be sent to the email you supplied with a temporary password.
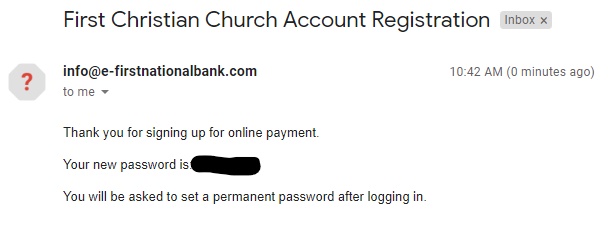
The confirmation email is sent from info@e-firstnationalbank.com. Use your email address and the supplied password to login. Upon login, you will be asked to input a new password to use.
Making a Contribution
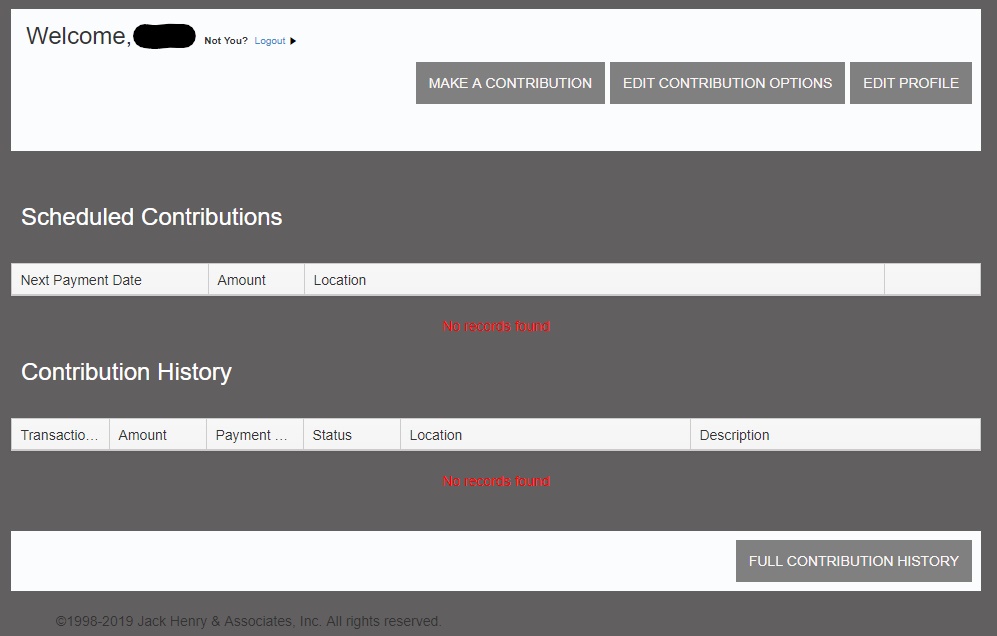
Upon login, you will be met with the page above. From this page, you can make a contribution, edit your payment options, edit your account/profile information (name, mailing address, etc), and view your scheduled contributions or the history. To make a contribution, press Make a Contribution.

You will be greeted by the page above. If this is your first time making a contribution, you will need to add a payment option by selecting the grey ‘ADD PAYMENT OPTION’ button.
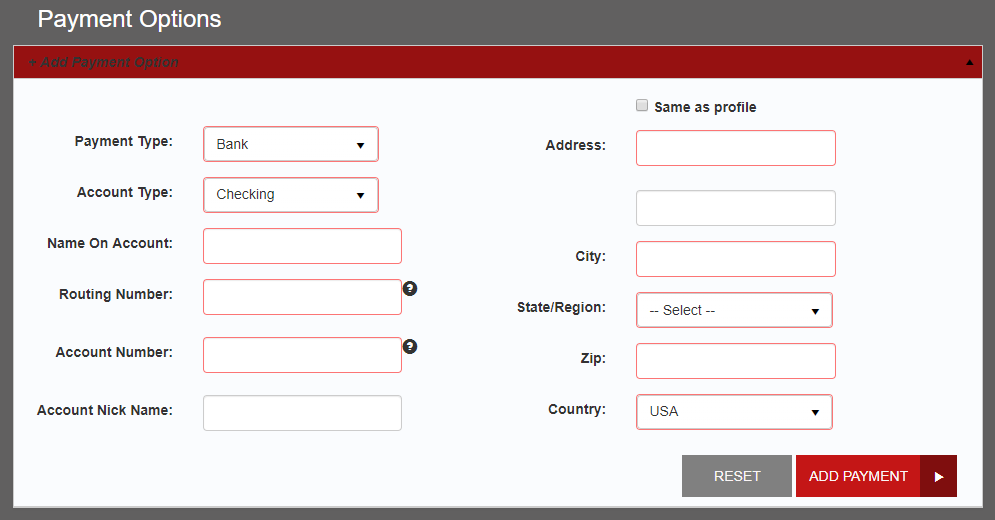
At the moment, only electronic debits from a checking or savings account is accepted. Required is the name on the account, the routing number, and the account number of the account. A check number can be optionally added. The routing and account numbers are found at the bottom checks, the nearby ‘?’ symbol will highlight the correct location of each number. You may also give your account a nick name to easier identify the account. The right side asks for the mailing address associated with your bank account. If this is different from your normal mailing address, enter the information asked, otherwise you may check the ‘Same as profile’ option to use the mailing address stored on your account.

With a payment option set up, you may now fill out the options to make a contribution. The ‘Give this amount:’ box allows you to enter the dollar amount you wish to contribute. ‘Contribution Type:’ allows you to choose which fund your contribution goes to, at the moment, all contributions are aggregated into a general fund. ‘Pay From Account:’ allows you to choose which payment option to use. The ‘Description:’ field allows you to enter a memo for your payment. You can use this field to denote specifically what you wish your contribution to go to. The last field allows you to select when you wish the payment to occur. (Note: Payments after 2PM may not process until the next business day.) Once you have confirmed the entered information, press continue.
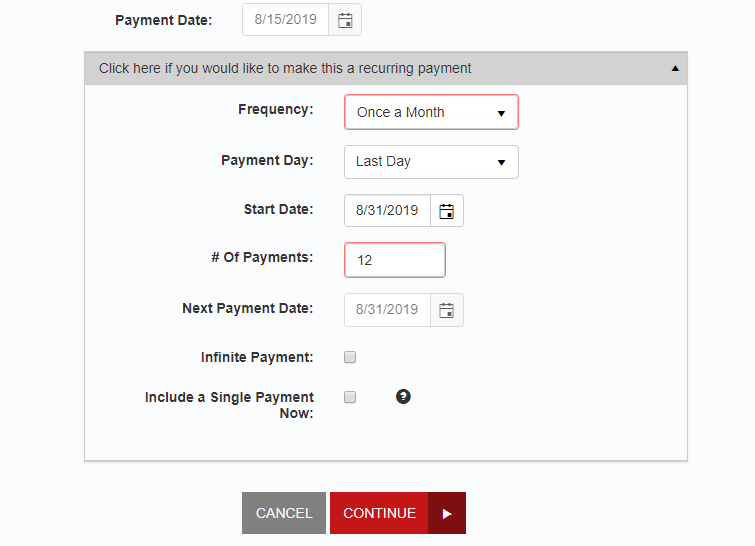
Optionally, you may click the button to allow you to set up a recurring payment. It allows you to set up automatic payments at specific intervals for a specific or indefinite amount of payments. This will allow you to make regular contributions with no actions on your part. Scheduled contributions can be managed from the front page of the payment portal. This is an optional feature, one-time contributions can also be made by not selecting this option.

Upon hitting continue, you will be given a confirmation screen. If the information is correct, and you agree with the payment authorization, click ‘AGREE AND SUBMIT’ to submit your contribution.
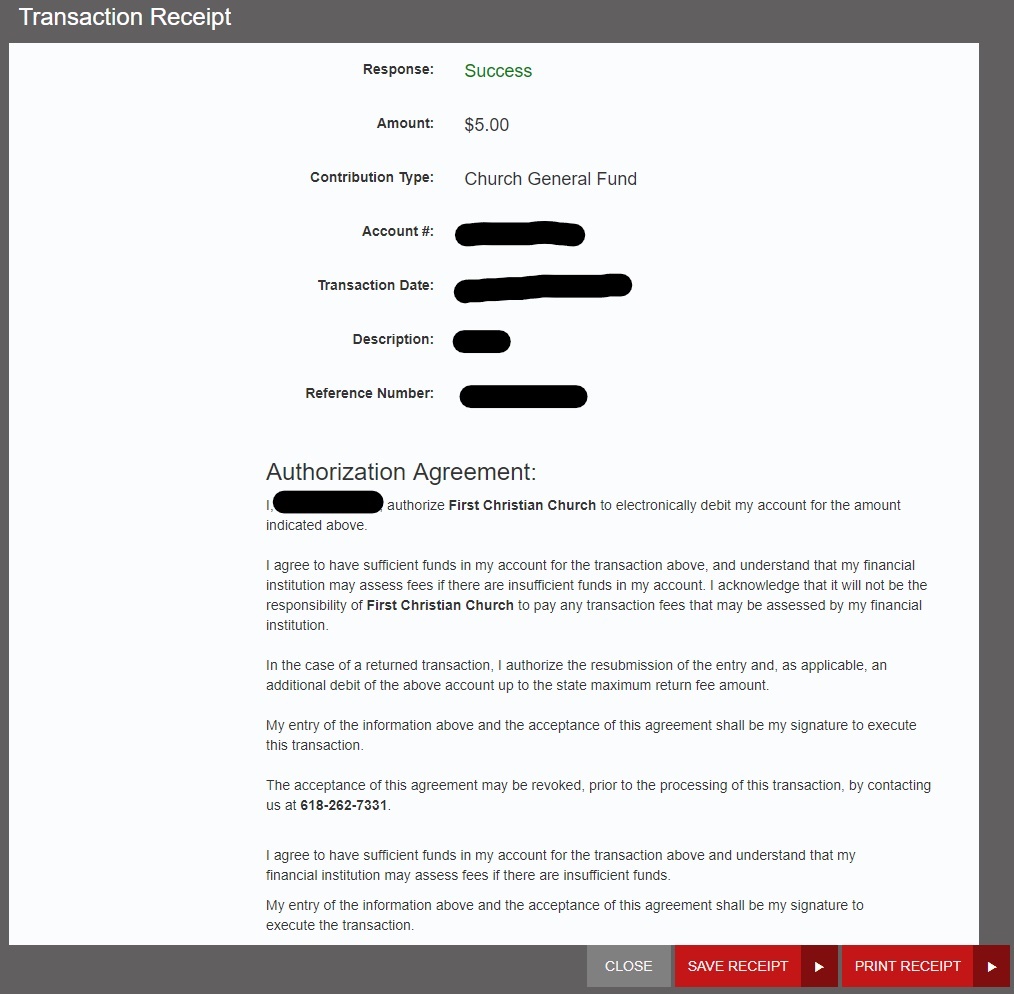
Upon submitting, you will be given a transaction receipt. If the receipt has a green ‘Success’ at the top, your contribution has been accepted. If not, make sure to double check your entered information for any possible errors. Here, you can save or print a copy of the receipt for your records. Your contribution history will also be available on your account page.